Showing posts with label Draw. Show all posts

Thursday, April 23, 2015

Maze Project

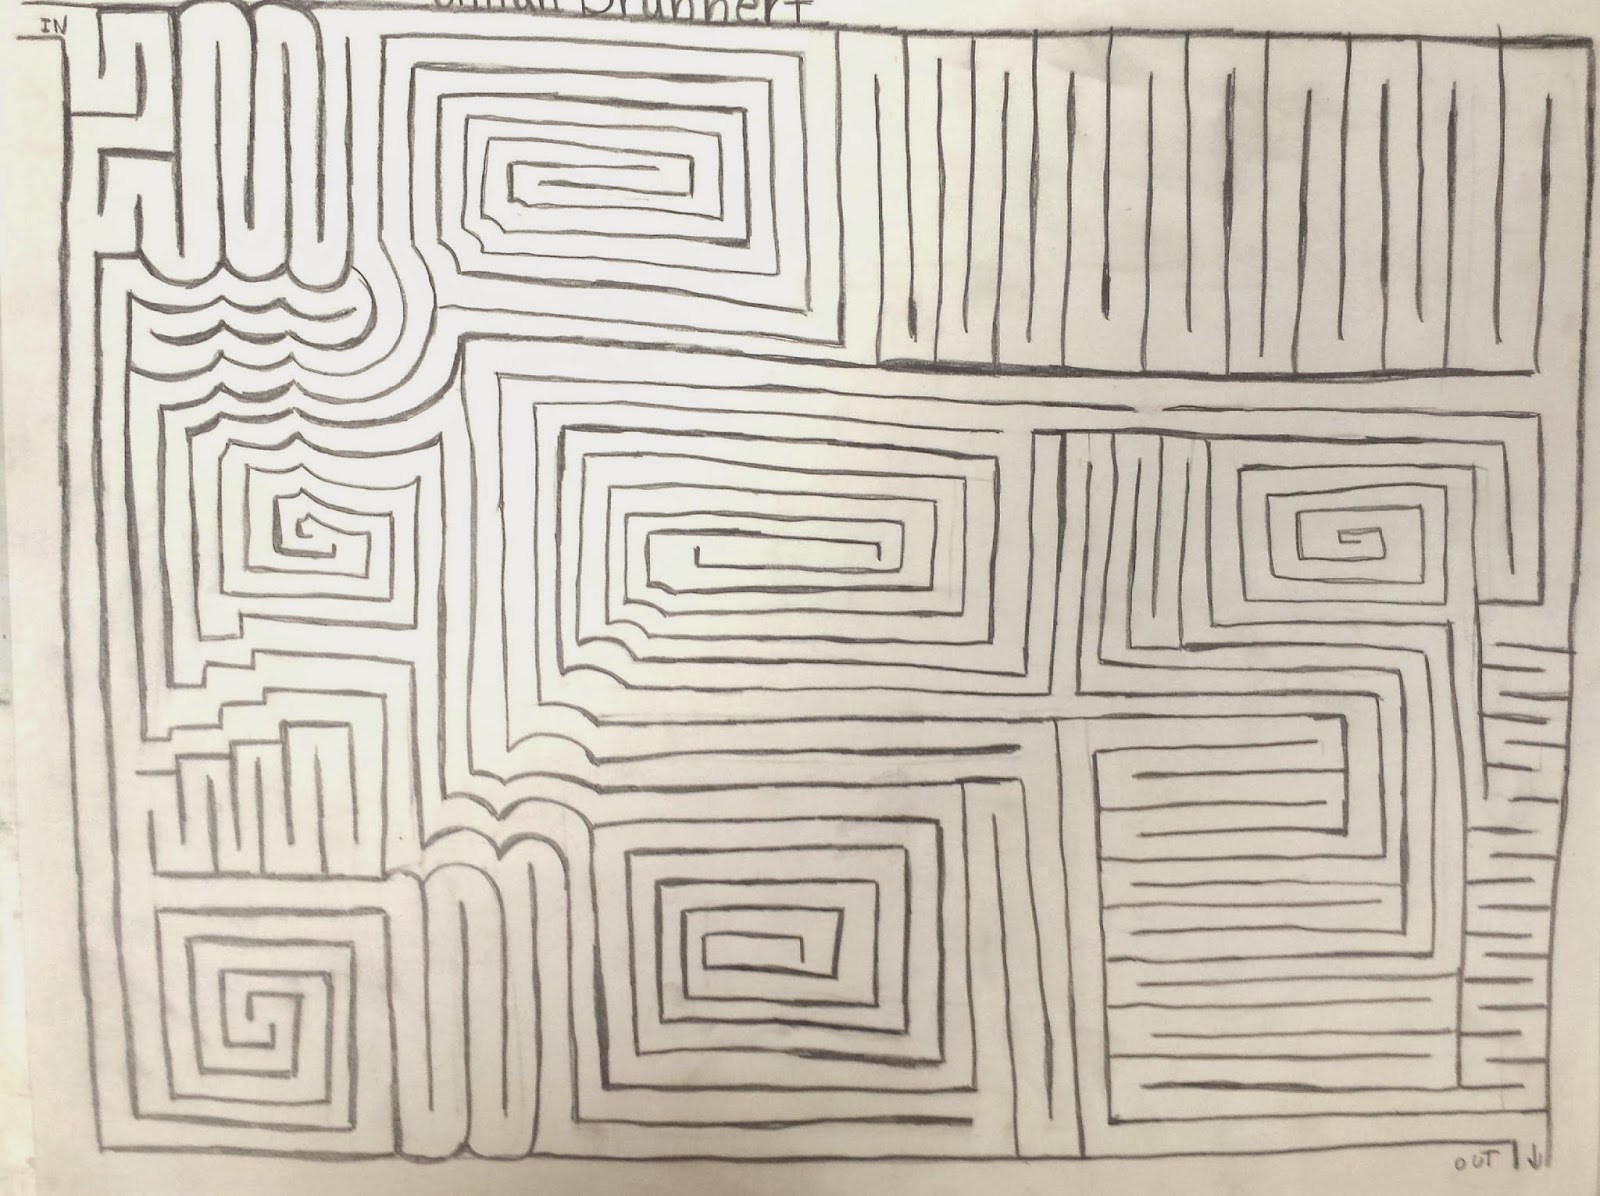
     A fun lesson for my class during MAP testing, We are studying mazes and labyrinths.
     One of the first things we attempted was to build a classroom sized labyrinth using wide masking tape on the ground. I measured the available space and gave students a blank grid with our dimensions with the description of a labyrinth.  I also used the smart-board and camera to demonstrate how to draw paths and how to use up all the space.  Basically, a labyrinth has one path, no dead ends.  easy path.  A maze has many choices and dead ends.  Once we had a successful student design, we got out tape, projected the design, and by counting spaces, students were able to lay out several parts of the Labyrinth in a few class periods.  Once we built it, we walked it!  some students tried to run the maze as fast as possible, and the quickest was 40 seconds.  

      I then gave them a packet of 6 mazes from Andrew Bernhardt's maze webpage as our anticipatory set.  Some were verrrrry challenging!  Through studying why they were challenging and reading some directions on maze building from the website "AMAZEING ART" , students are familiarized with some key components of maze building.  Here are some things we cover:  

Some of the vocabulary includes the terms: Vortexes, junctions, bottlenecks, kernels, one-ways, bridges, consistent pathwidth, zig-zags, dead-ends, and circle-back loops.

Students practice maze creating on office paper, and after a few successes on the small scale, they move to a big paper.  the big paper is 11x 14.25 inches.  This unusual ratio helps me to photocopy their designs!    

After all students create their mazes, I take the stack to the photocopy machine, shrink to 11x 8.5 and reproduce the work.  They are collated into packets so that every student gets a copy of all the mazes generated by their classmates. The last activity is to let them solve each others mazes!


Here is the rubric for judging successful maze design :

Consistent Path Width      20 points
Many Junctions                20 points
Difficult Solution             20 points
No wasted space              20 points
Craftsmanship/ clarity     20 points
Total                               100 points


Taped labyrinth is designed/ laid out on the grid of the floor.


Wednesday, November 19, 2014

1 point perspective cities and rooms

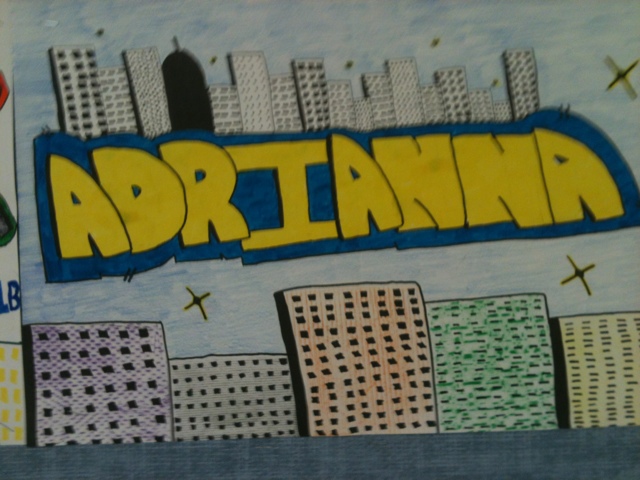
Students followed up their name drawing project with a fairly intense double drawing:  Use perspective to draw a cityscape and a room.  In both cases, students could choose whatever they wanted to go into the city or room.  Here are the rules of perspective we cover and reiterate as we work:

1. When an object goes back in space, lines go back to the Vanishing Point (VP).
2. On round objects, you connect the outermost point to the VP (this is hard to describe)
3. If something gets in between your line and the VP, then the line stops. (overlapping rule)
4.  Front and Back edges match.  (they go same direction.  same for top and bottom.)
5. As things go back in space they appear smaller.


We also covered vertical, horizontal, diagonal and orthagonal.


We used t-squares and triangles to create true verticals and horizontals, which most of the students had never used before.


Wednesday, November 5, 2014

T-Square Linear Drawings

A "Straight" forward drawing project.  (Get it?  Straight?!  Like the lines we use for this project?  Meh.   At least the project is a hit.

Here's how it works:

1.  Students find an image.  This time around we are looking through the 2000's era National Geographics.  Larger better.  Black and white is better too, but not necessary.

2.  Photocopy the images.  This makes them grey scale. Much easier for kids to deal with for this project, especially since it is all about value.

3.  In order to have a nice drawing to work with, we will grid the image and paper, and transfer a LIGHT version of the artworks.


4. Practice.  This project depends on line to make value. No shading.  So I have students attempt a grey scale to match values.  They draw lines using the T-Squares to try and match the overall value of one area to the other.  This is done with pen.


5.  T-squares are interesting tools, and can be very helpful with technical drawings such as with perspective drawings.  Here is how I use them in the class:  Students clip the t-square to bottom edge of the table.  This makes it perfectly perpendicular.   Use this to align the paper, and use masking tape to secure the paper to the desk.  This "registers" the paper square with the t-square.  Then you can use the t-square to draw vertical lines.  with the addition of a triangle, you also get horizontal lines.

6.  Using the method in step 5, students then fill their drawings with pen lines, more to increase value, less where it is lighter.  I allow them to choose the angle, as long as it is consistent.  Vertical is easiest.


Wednesday, October 8, 2014

Positive negative space lesson


Sub Lesson October 4, 2014                                            Mintert
Positive Negative Space Project 2

Materials:  12x18 paper
4x4 square of paper for tracing shape.
Scissors
Colored Pencil Sets
        Start by distributing a 12x18 sheet of drawing paper and tell them “in the upper left hand corner put your first and last name, todays date, and class hour of what will be the back”- we start all drawing projects this way.
The students are asked to choose a simple shape and create a pattern of that shape to trace onto the small paper.  This shape could be almost anything.  Some example possibilities are music notes, maple leaf, hearts, peace signs, stars, numbers, letters, flowers, geometric shapes, etc.   They draw it on the small square, and cut it out. It could have open space inside if they want, like in the peace sign.
The students then are to trace the shape over and over across the paper overlapping the shapes to create interesting negative shapes. Students have learned about negative shapes, ask them if they know what that means.  Then they erase the lines where the shapes overlap.
 After they complete their composition, they add color to the background with colored pencils.  They get to choose the colors and patterns to enhance their design. The coloring should be solid and complete, no wimpy coloring.  They must use at least 3 colors. They can use stripes, geometric patterns, waves, curls, zig zags, etc.  Remind the students to “Take a set, use a set, return a set.”  There are enough sets for every student to have their own set.  They are brand new so make sure they are being respectful with them.
Here is how they will be graded:

Overlapping shapes-      30 points
Do your shapes overlap or are there a lot of gaps?
Completed coloring-      30 points
are all the background areas filled in with solid color?
Craftsmanship-                40 points
How well did you draw and color?  Is it neat or sloppy?
________________________________________
Total                                 100 points