Thursday, May 7, 2015

Rhino project

Albright Durer made an amazing drawing of a rhino without even seeing it in 1515. This lesson is originally found in the book "From Ordinary to Extraordinary", an art and design book by Ken Vieth.
 Students are manipulating this famous rhino to add new content.  They trace a simplified version of the rhino 4 times in their sketchbook and try to come up with 4 different themes.  The best one is applied to a large rhino that they traced from an original large scale template on 11x17 paper.

This time around, we used watercolor pencils to complete.  Really nice results.  They color just as if it were a colored pencil project, then use a small brush and some water to move the color around.


As a neat side note, our incoming superintendent came in while students were working on this project and I got to give him the history lesson on Durer just like the students!


Monday, May 4, 2015

Contrast project

This project is based on a material called Contrast-o.  I found it in a box years ago and because of numbers, I was able to give one piece to each of my students to make into a project.  it costs about  15 dollars for a 10 pack, so this will be a one off project.  Its too expensive to purchase every year.  The results were striking though!  I followed a lesson I found on http://www.thesmartteacher.com.  It was a great resource including a rubric, powerpoint and lesson details.  We also looked at a previous post I made on Pen Knife Safety.  Find that here.  

Here are some of the wonderful examples.


Saturday, April 25, 2015

SDATA art show and competition 2015

The Annual Southwest District Art Teachers Association Spring Conference was this weekend at Drury's Pool Art Center.   This event includes a student show/competition, an "art on the spot" event for high school students, a portfolio review/ scholarship, and workshop.  I was the presenter at the workshop, demonstrating our "Cartoon Skeleton" project and other visual problem solving lessons.  Teachers are allowed to bring 6 artworks to show, and mine were in the b/w drawing, colored drawing and water based categories.  Of the 6, we received 5 ribbons the Best in Show!  Here are the awards and work, and some wonderful examples from other student work from across Southwest Missouri.


Tatiana's "Mona Upton"- First place Colored Drawing
Josh's "Friendly Rivals" project- 1st Place, water based paint 
Brianna's Calligramme- 2nd place B/W drawing
Tiffany's "Einstein"  B/W drawing, 1st place
It was also the BEST IN SHOW for the JH LEVEL!!!

Thursday, April 23, 2015

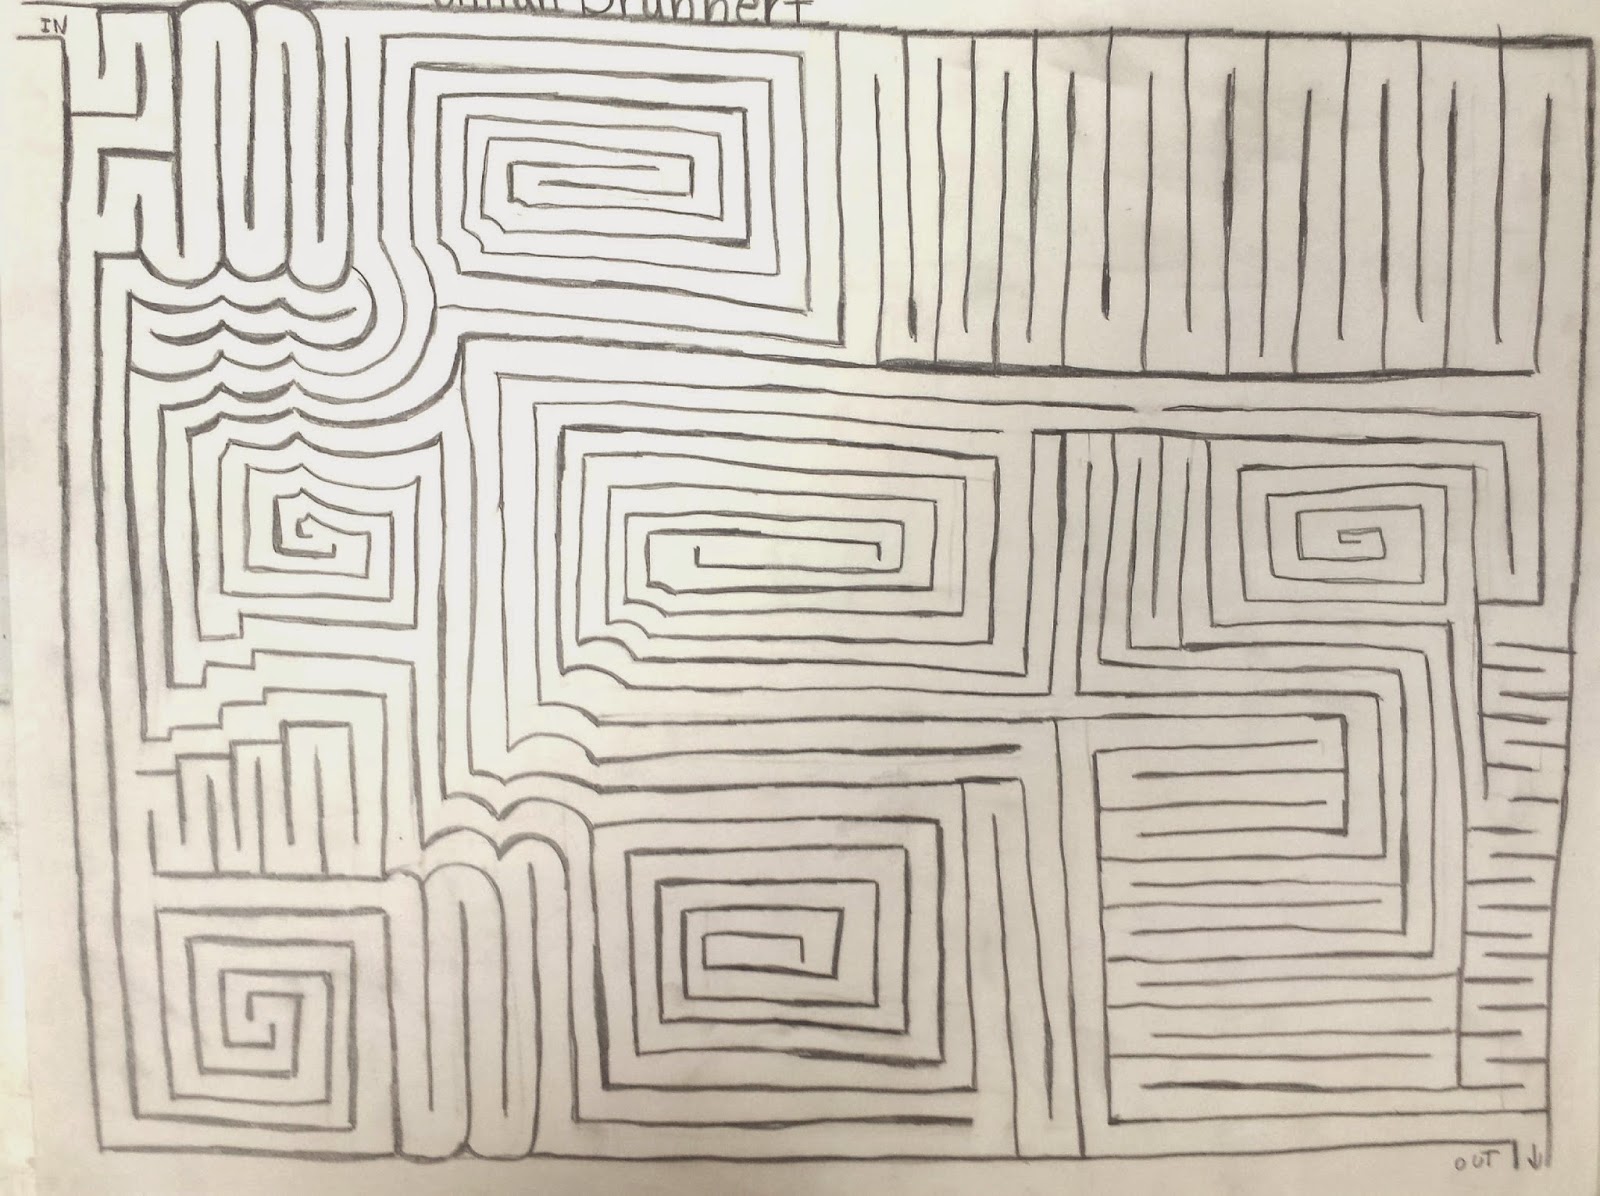
Maze Project

     A fun lesson for my class during MAP testing, We are studying mazes and labyrinths.
     One of the first things we attempted was to build a classroom sized labyrinth using wide masking tape on the ground. I measured the available space and gave students a blank grid with our dimensions with the description of a labyrinth.  I also used the smart-board and camera to demonstrate how to draw paths and how to use up all the space.  Basically, a labyrinth has one path, no dead ends.  easy path.  A maze has many choices and dead ends.  Once we had a successful student design, we got out tape, projected the design, and by counting spaces, students were able to lay out several parts of the Labyrinth in a few class periods.  Once we built it, we walked it!  some students tried to run the maze as fast as possible, and the quickest was 40 seconds.  

      I then gave them a packet of 6 mazes from Andrew Bernhardt's maze webpage as our anticipatory set.  Some were verrrrry challenging!  Through studying why they were challenging and reading some directions on maze building from the website "AMAZEING ART" , students are familiarized with some key components of maze building.  Here are some things we cover:  

Some of the vocabulary includes the terms: Vortexes, junctions, bottlenecks, kernels, one-ways, bridges, consistent pathwidth, zig-zags, dead-ends, and circle-back loops.

Students practice maze creating on office paper, and after a few successes on the small scale, they move to a big paper.  the big paper is 11x 14.25 inches.  This unusual ratio helps me to photocopy their designs!    

After all students create their mazes, I take the stack to the photocopy machine, shrink to 11x 8.5 and reproduce the work.  They are collated into packets so that every student gets a copy of all the mazes generated by their classmates. The last activity is to let them solve each others mazes!


Here is the rubric for judging successful maze design :

Consistent Path Width      20 points
Many Junctions                20 points
Difficult Solution             20 points
No wasted space              20 points
Craftsmanship/ clarity     20 points
Total                               100 points


Taped labyrinth is designed/ laid out on the grid of the floor.


Thursday, April 16, 2015

Modular Origami

This is our attempt at the Modular origami icosahedron (stellated icosahedron).  Each sphere is made of 30 sheets of 4x4 in paper that were individually folded to match.  We followed directions from this website.  Below is a stack of about 10 of the projects.