Blacklight
Unit
Materials:
Fluorescent fixtures ($10
at Wal-Mart suggest getting 2)
Blacklight bulbs (4ft
ones at WM cost $12 each. For two fixtures, need 4 bulbs)
Highlighters
White colored Pencils
Reams of colored
office paper (they end up nonreactive to UV light)
Ream of
yellow/goldenrod office paper
Reams of regular
office paper (they are reactive)
Fluorescent paints
(can now get from many art suppliers like Blick)
Pens
Day one.
Review classroom expectations.
Turn on backlights and let the students explore and look at
their belongings.
Talk about blacklight properties, wavelengths, (science
component) etc.
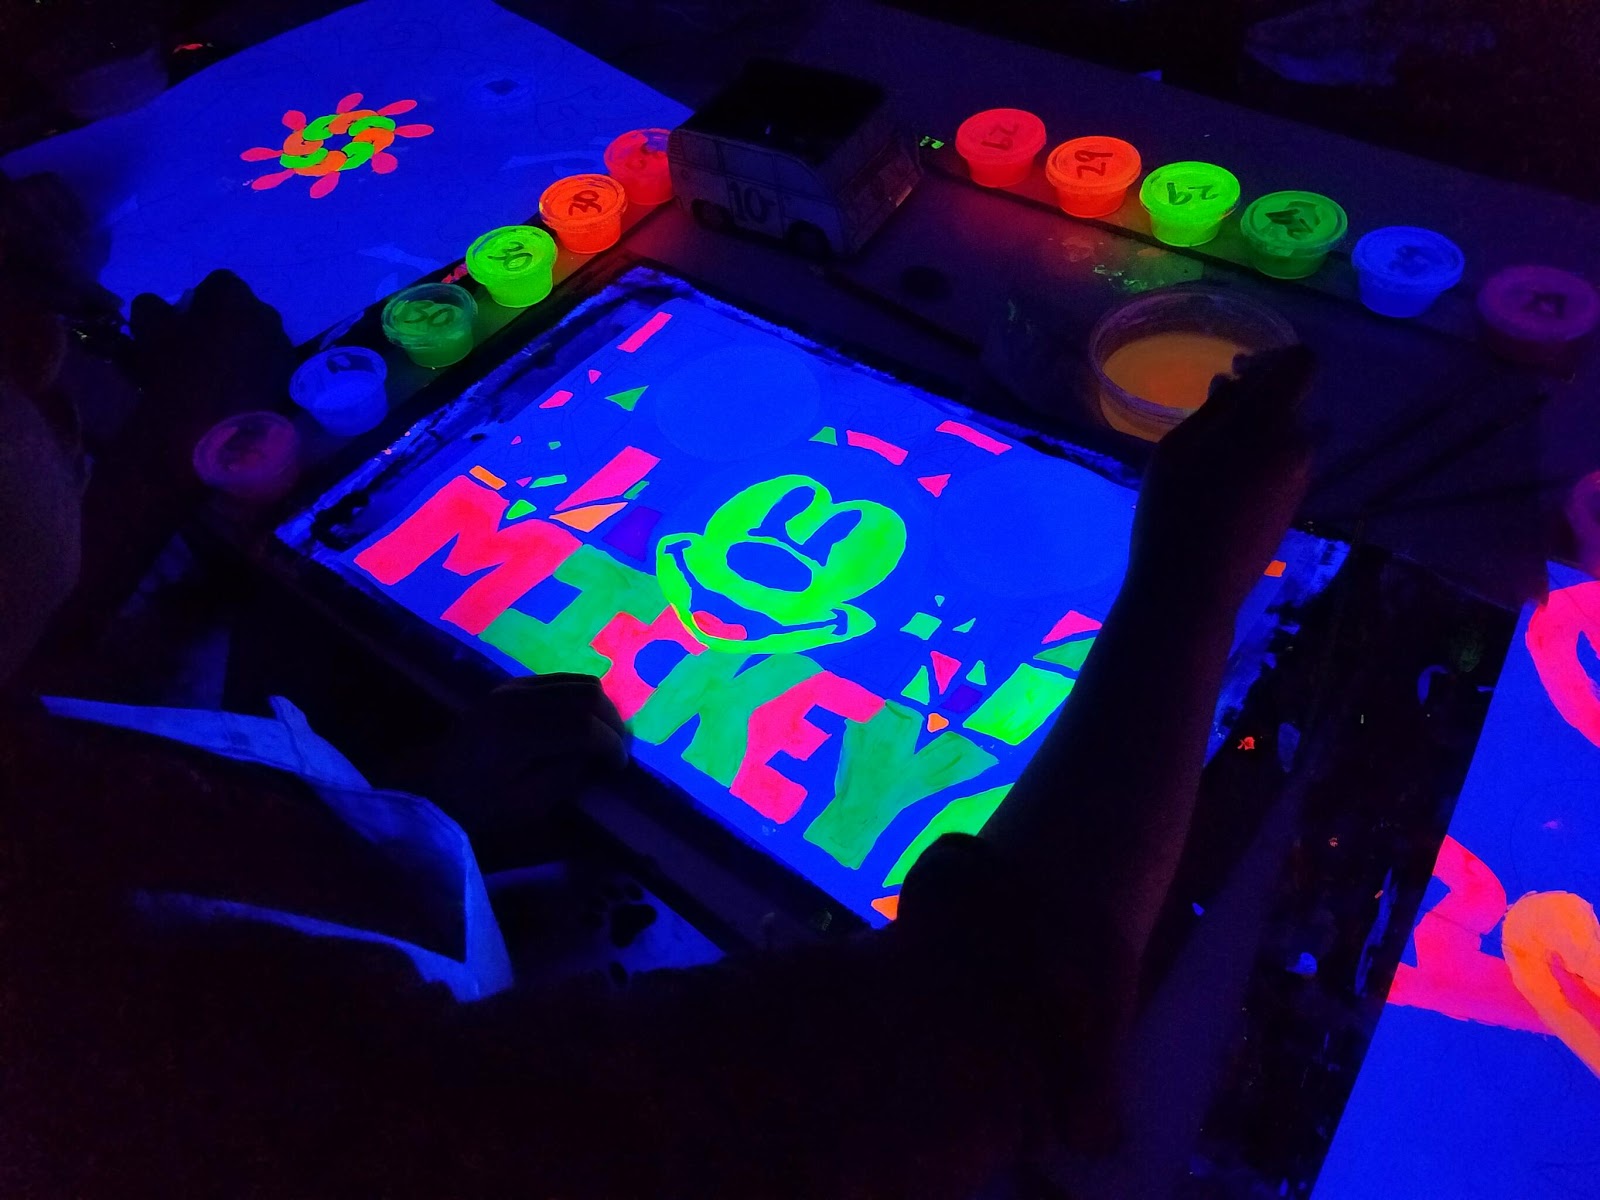
Studio- Invisible Drawing
Pass out drawing paper that is
reactive to the light. Pass out white
colored pencils and students draw on the glowing paper. The white colored pencils show up dark on the
glowing paper. Turn off the blacklight
and on the regular lights. The drawing
disappears!
Highlighter drawings
Have any students who have
highlighters bring them out. Trade out
the paper for one that does not glow in blacklight…. Draw with highlighters to
get a neon sign effect… students really like this one.
Before and after drawings
Have students brainstorm over
different situations that would best be described with two pictures, such as
Bruce Wayne turning into Batman, or leaves on then falling off a tree, day vs.
night, etc. They should pick one
scenario, and on goldenrod office paper, draw the first scene in pen in regular
light. Then, when all are finished, turn
the black light on, and the second drawing is made directly on top of the first
using yellow highlighter. In the regular
light the yellow highlighter is hard to see, and in the blacklight, the pen is
hard to see. Talk about filling up all
the space with loose crosshatching or objects. This masks the highlighter
drawing better. Do not completely darken
any areas, since the highlighter will not work on that. When all are finished, turn on the lights and
pass the paper to a neighbor. Turn on
the blacklight and the image will change!
Turn on the regular lights again and the blacklight off, and pass papers
again... Repeat until everyone has seen everyone else’s drawing.
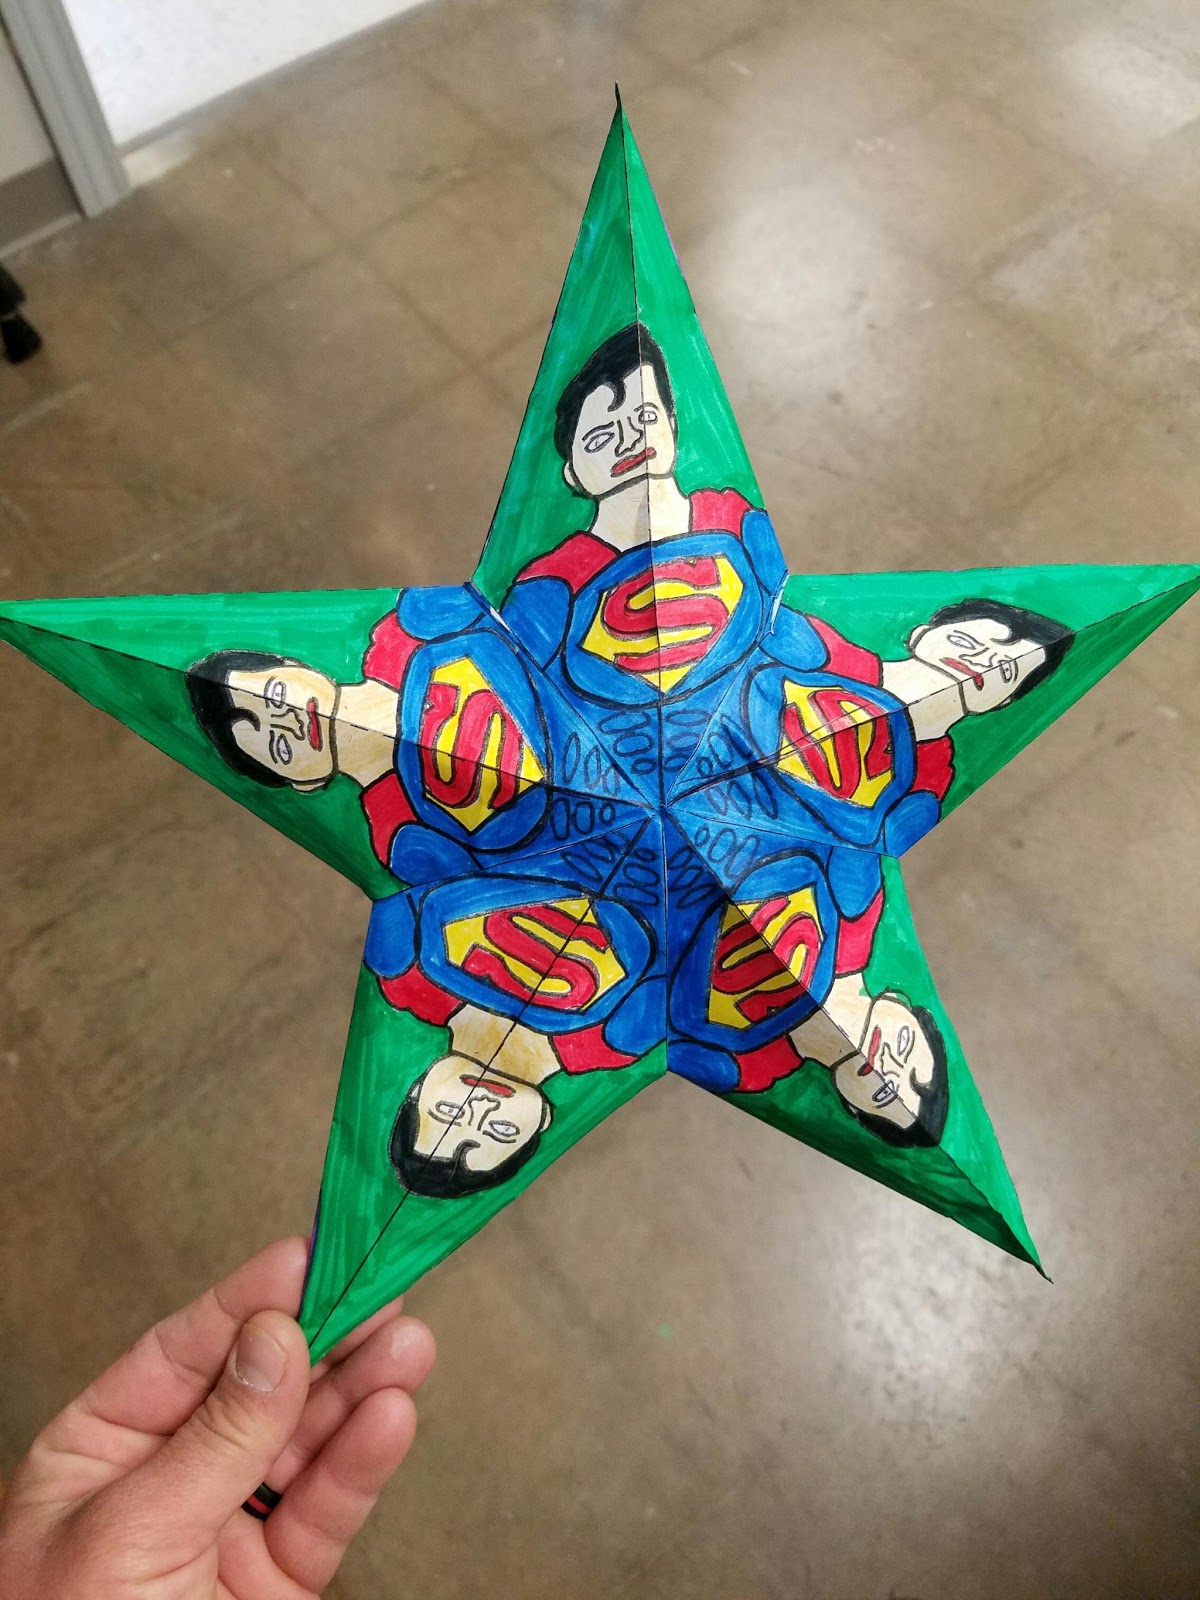
Day four, five
Prep day
for glow in the dark radial designs.
Hand out non-reactive paper and have students create a simple radial
design using pencil. By folding the
paper it is easy to recreate exact copies by rubbing the back and transferring
the image across. When all are done,
pass out the fluorescent paint and paint in the designs. Hang in the room for display.
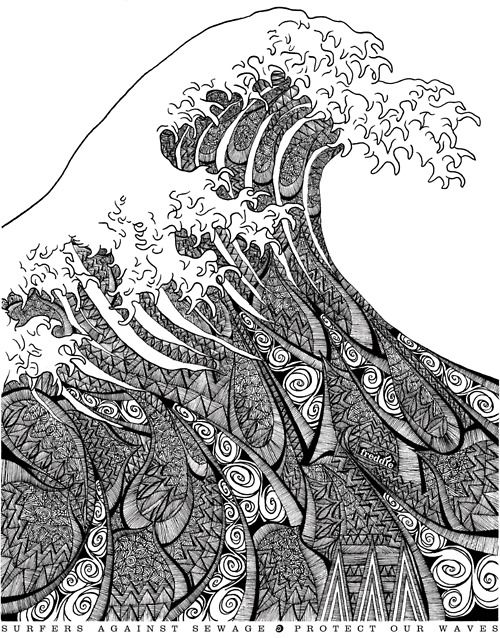
Radial design using French Curves:
Get a
square paper and fold from corners and sides to find center.
Use
ruler to go over the fold lines.
Use a
compass to draw a large circle.
The
grid formed will aid in repeatedly tracing using the French curves.
Pick a French curve and a location.
Draw
the center x or the circle x on the tool.
You also need at least one line as reference.
Copy
section.
Move
the tool to the next position and realign the marks to the next location.
Copy
section. If there is overlap or missing
section, adjust.
Continue
until it is repeated 8 times.
Repeat
the process with different French curves until paper has a completed radial
design.
Paint.
Before and after Project
1. Brainstorm over different
situations that would best be described with two pictures, such as Bruce Wayne
turning into Batman, or leaves on then falling off a tree, day vs. night,
etc.
2. Pick one scenario, and on
goldenrod office paper, draw the first scene in pen in regular light.
3. Then, when all are
finished, turn the black light on, and the second drawing is made directly on
top of the first using yellow highlighter.
In the regular light the yellow highlighter is
hard to see, and in the blacklight, the pen is hard to see. Fill up all the space with loose
crosshatching or objects. This masks the highlighter drawing better. Do not completely darken any areas, since the
highlighter will not work on that.
4. When all are finished,
turn on the lights and pass the paper to a neighbor. Turn on the blacklight and the image will
change! Turn on the regular lights again
and the blacklight off, and pass papers again... Repeat until everyone has seen
everyone else’s drawing.
BEFORE AND AFTER EXAMPLE LIST
Riding bike or
skateboard/ crash
Spiderman swinging/
landing on a building
Bruce Wayne/ Batman
Bruce Banner/ Hulk
Man turning into
Wolfman
Dracula turn into bat
Cake, cake gone
Apple, apple core
Woman pregnant/
thinner holding a baby
Pizza / bite gone
Weakling with
dumbbells/ muscular after
Calm to angry
Happy to sad
Peaceful to angry
Day to night
Summer to fall
Fall to winter
Winter to spring
Snowman/ melted
Sitting in a chair/
it breaks and crash
Animal crossing road/
road-kill
Caterpillar/
butterfly
Tadpole/ frog
A tree / losing its
leaves
Blowing bubble with
gum/ it pops on face