Thursday, February 26, 2015

Friendly Rivals Project


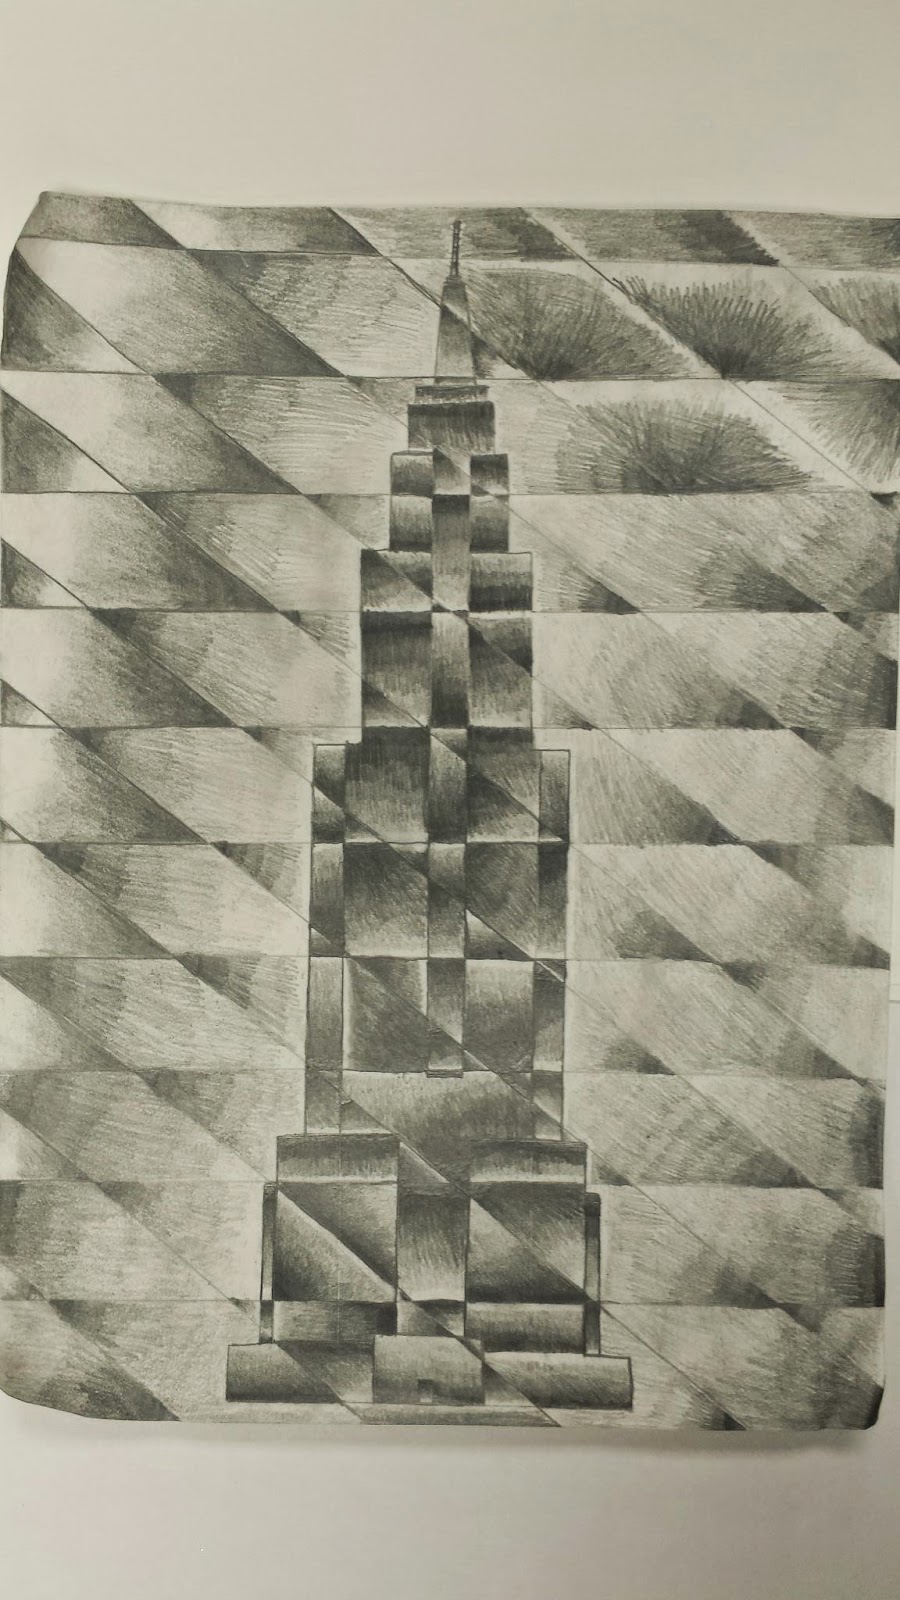
Example from the article


Original Lesson is from 2006 issue of Arts & Activities, article written by Irv Osterer.  Its been several years since we last attempted this project. I let some students use the packet I developed to draw some of their images for another project, and they read the directions and wanted to try!  In fact, I have not done this project since I started this blog in 2012.  Here is how it goes:


Concept:  Pair two normally aggressive or adversarial characters in a friendly pose.

Vocabulary:  Adversary, Conflict

Studio:  Start by brainstorming as many “polar opposites” as possible.  You may include characters and businesses. Also brainstorm as many things to show friendship.   
Test your ideas in your sketchbook.  The drawings must show the “rivals” acting in a friendly manner, not as enemies.
After showing drawings to Mr. Mintert, we will select one to draw large on 12 by 18 inch drawing paper.
They will be finished with paint.

Accurate drawing of rivals                       30 points
Large drawing                                           20 points
Clear illustration of friendly behavior    30 points
Good craftsmanship                                 20 points
Total                                                          100 points


One of the first things we do is introduce the concept of rivalry, advesary, enemy, polar opposites.  the next thing is to brainstorm as a class to come up with some possibilities

Friday, February 20, 2015

Celtic Knot Designs

Based on art from millennia past, the Celts spread across Northwestern Europe.  We commonly think of this as an Irish art form, and the students mostly just saw this as a visual challenge.  They needed to work out how to create the over/under pattern to successfully complete this project.  We started by practicing with the trinity knot.  Then students practiced in their sketchbook with 10 overlaps.  Only then did we move on to the radial design.


In one quadrant, students needed to make a design with 20 overlaps.  They needed to make sure that some components went off the edges to other squares to make the lines rotate all around.  

The image is transferred from side to side by coloring in the lines dark and pressing on the back with something hard.  we used hand pencil sharpeners.

Once the design is transferred, its time to color.

Shading should be used to make the "Over/under" pattern really stand out.

Here is our grading scale.


20 successful "over/under" paths in 1 section.      30 points
Design is repeated correctly in all 4 sections        30 points
Use shading to show depth                                    30 points
Total                                                                      100 points

Painting party at Spiva!

Shattered images 2015

It's been quite a while since we tried to shattered images project here is our faithful attend this time. Basically the idea of the shattered image project is value in contrast an image is developed by students with simple lines. The  image is then "shattered" with lines crossing over the top. This form new smaller shapes each of which is then shaded from light to dark. By alternating where the light area is versus a dark area, the image should reappear from the darkness. 

Grading scale 

Each shape has full range of value black to white    30 points
Blended with no striping                                           30 points 
Alternating light on the shapes too dark on another 30 points
Craftsmanship                                                           10 points
Total                                                                          100 points


Friday, February 13, 2015

Collaborative Mural Project

Repeat from last semester, link to that blog post here.  This is part puzzle, part color matching, and give students the chance to be part of something big.

Teacher side:  I select an image, use Blockposter.com to expand the image.  Measure and divide, mark the back with class information, direction, and number.  Cut apart and disperse to students.  I chose a square format for ease of measurement.  But beware of flipped images.
the large image is divided on a grid, so I have students use this project to try out grid drawing.  they divide out a color copy of the original, and put a matching yet larger grid on drawing paper.

Once the drawing is finished, its time for collaboration.

We piece the puzzle back together and students finally get to see the big picture.  They also discover if the pieces match well or not.  They find out who their neighbors are in the design and fix the mismatched edges.  The following two images are from a middle point, checking on alignment and color matching.

For grading, individual students need to meet standards in this rubric:

Accurate Shapes:                 30 points
Accurate Colors:                  30 points
Craftsmanship/ neatness:     40 points
Total                                     100 points


The project progresses individually, with frequent check ins with neighbors for color and line.  Once all the images are complete, we piece them together again and tape them on the seams in the back.