Wednesday, January 29, 2014

Selfie


We are starting our self portrait project.  Since the word of the year for 2013 was "Selfie"  I thought this was an amazing resource.  We are looking at the work of Kehinde Wiley, New York artist who puts hip hop artists and people off the streets in the same poses as European master portraits from centuries ago.


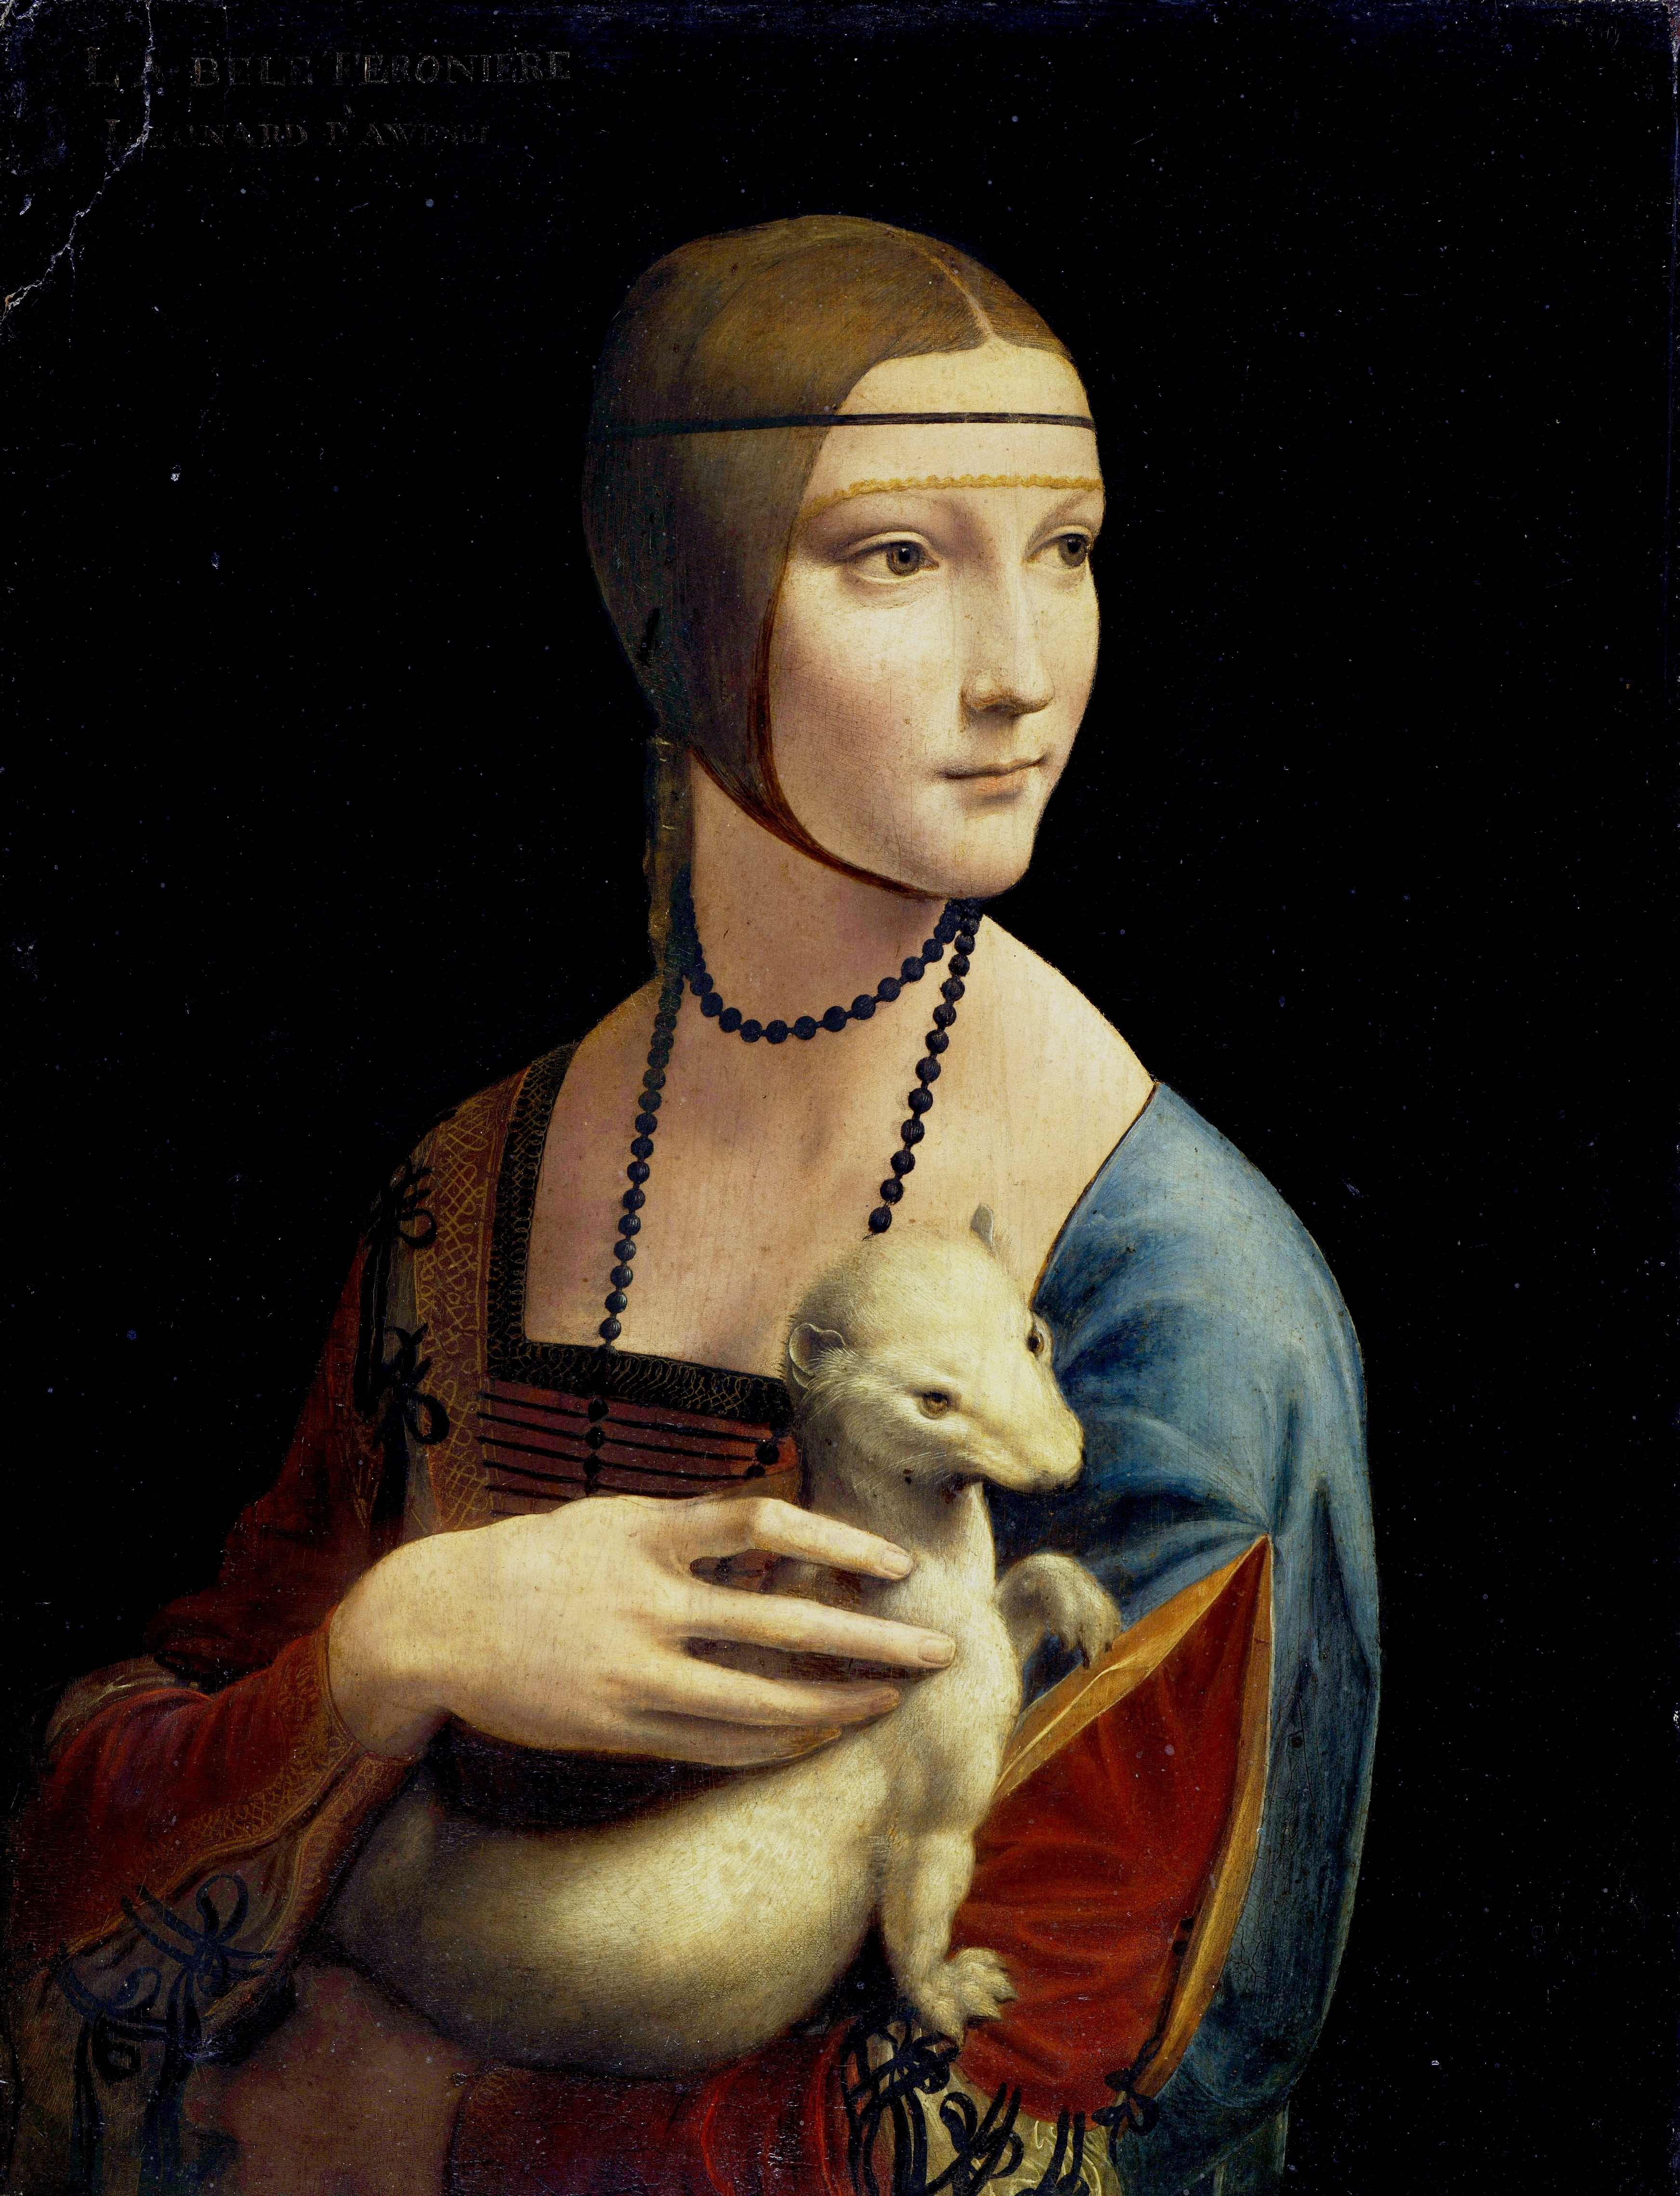
Da Vinci's Lady with an Ermine


Jacques-Louis David- Napoleon Crossing the Alps

Wiley's Version of Napoleon crossing the Alps- 2005


Kehinde Wiley

Kehinde Wiley

The artist Kehinde Wiley himself

Students pose for the photo, I print it out, they trace on transparency, put on projector and get large format.  add crazy backgrounds, and paint.
Kehinde Wiley works big, so we did too: these are 18x 24 inches!  Took us a month!


Monday, January 27, 2014

Missouri art Educators Association district 9 show at MSSU

this art showcase features artwork from around southwest Missouri area.  some of the schools participating are Carthage Webb City Joplin Carl Junction Neosho and Mac County.  hundreds of area patrons came to see the show, including five of my students and their families.

Missouri art Educators Association district 9 show at MSSU

this art showcase features artwork from around southwest Missouri area.  some of the schools participating are Carthage Webb City Joplin Carl Junction Neosho and Mac County.  hundreds of area patrons came to see the show, including five of my students and their families.

Wednesday, January 15, 2014

Ribbon letters

RIBBON LETTERS!
This is a simple technique for getting a ribbon style letter.  There are a lot of different techniques out there, but this one makes sense for my 7th-8th graders who have never tried this before.


It starts out by writing out a word in cursive.

Then you extend the edges back in space.  They must all be the same direction, and the same length.  For example, if you draw from each edge up 1 inch at 45 degrees to the left, then they all go that same length and direction.  For curves, you pick the outermost part of the curve you can find.  See the top and bottom of the C in the "Carthage" example?

You finish the drawing by drawing in the back edge of the ribbon, which should go the same direction as the front edge (the cursive letter.)

Don't forget sometimes you have interior spaces that need to be addressed, like the o in Love in the below example.


Color is different.  You have lots of options, but I have my students use marker to outline, and colored pencils for shading.  Shading can really make you ribbon drawing seem more real.  You are trying to get the illusion of depth, and if you gradually shade from light to dark, to show overlap or distance, you can enhance the image.
  Here are some examples ...

Also, here is the link to the first post on Ribbon Letters, with step by step instructions.
Wednesday, December 11, 2013

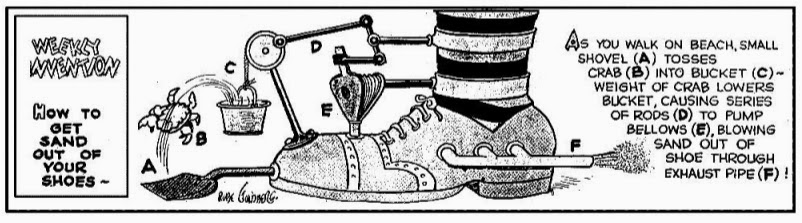
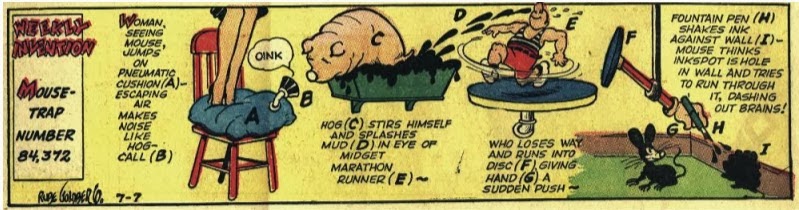
Rube Goldberg drawings

this project starts with student looking at Rube Goldbergs original drawings.  we also look at YouTube videos of Rube Goldberg machines.  students then start by making to preliminary sketches in there sketchbook. Designs must have 15 steps and use all six simple machines that are investigated in science class.  the final drawings also include written directions and labels.  Once they're finished with the drawing students will create an actual Rube Goldberg machine using still life materials in the art class.