This was a sub lesson based on a design I saw here at Mrs. Art Teacher!. Sub Lesson Plan,
Here are most of the additional notes I left for my sub
Mintert, December 9, 10, 11. 2015
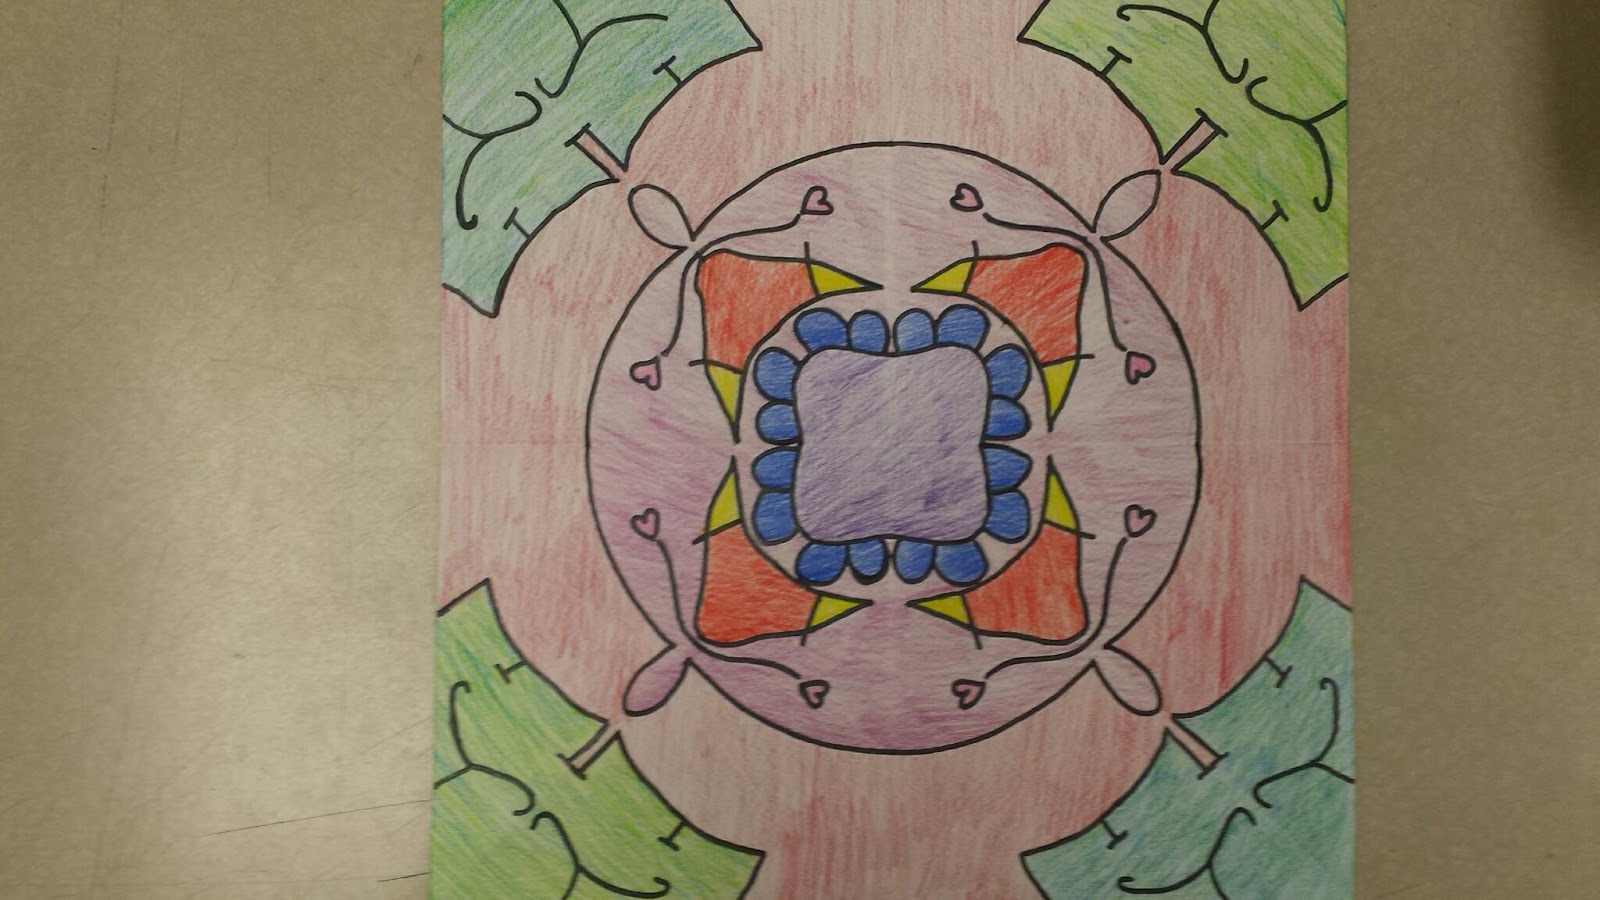
This project is a Radial design. It is based on their name and repeating it 8
times around a center point. The
students can do this by folding and copying the design from side to side. More specific directions on the project are
on the following pages. ( see the link above)
Each student gets a sheet and they can start folding.
When you get to the end of a class ( lets say the last 5
minutes), have the students flip the paper over, and choose what will be the
top. They always put their information
on the upper left corner of the back of their papers. First Name, last name, class hour and
date. I usually collect them by
table. They stack the 2 or 3 projects
for that desk in the corner for you to grab up and stack to store for the next
day.
Day 1: Wed
Introduce
lesson and how it is made. Start drawing name and spreading the design from
side to side.
Day 2: finish transferring the designs and start with
color. You may have them outline with
sharpie before color ( this will make
the project last longer too. Sharpies
are on my desk, just have them put a scrap sheet under to protect the tables (
also on my small desk.) Color should be
done with colored pencils. Each table
gets a white box with 3 colored pencil sets. If you
want to make this project more challenging, you may require a couple more
elements:
1.
Require pattern to be added to the design.
2.
Require them to use lighter and darker values to
increase contrast and interest.
You may have to make an example or
work on a student project to show them what you are talking about.
Day 3: finish Coloring.
If for some reason a student can get this all finished and there is
still time, you have a couple options
1.
Have them help another student get their project
finished.
2.
They can start on another radial design.
3.