This idea comes from Mrs. Kamp at Calver Schools in Baltimore. It takes two projects I have done in the past and blends them together to get one unified, active, interesting artwork: Tessellations and posterized portraits. The images are from her class, (we are going to start ours on Tuesday with tessellations!
 |
| From Mrs. Kamps website |
 |
| From Mrs. Kamp |
here are few patterns that you can follow to construct a tessellation.
The basic one is "translation" pattern - where you attach the cut out pieces to an opposite side of your shape:
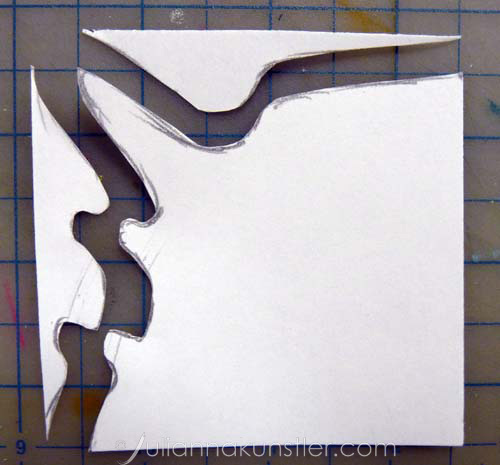

This is an example of a more complex tessellation pattern - "rotation" template. Instead of sliding a cutout to an opposite side - you rotate it.


Now typically, when I do a tessellation project, we spend a lot of time turning these shapes into something we recognize. For this project, we are using this to create an interesting colorful background. While students are starting their tessellations, I will photograph each student and print out a posterized version of their face. Students then trace the lines separating values, (probably only two, light and dark) this line drawing is transferred to the tessellation page, and painted in with tempra.


