Showing posts with label portrait. Show all posts

Friday, January 31, 2014

Expressive color animals

 Our current project is expressive color portraits of animals. The plan is to send it to Art to Remember, a fundraising company so we can buy more art supplies! We are looking at the artwork of Franz Marc as inspiration.

Franz Marc, a German Expressionist, was a founder of the "Blue Riders" group and had wonderfully expressive portraits of animals.  My students investigated several of his works, including "The Large Blue Horses" from 1911.  

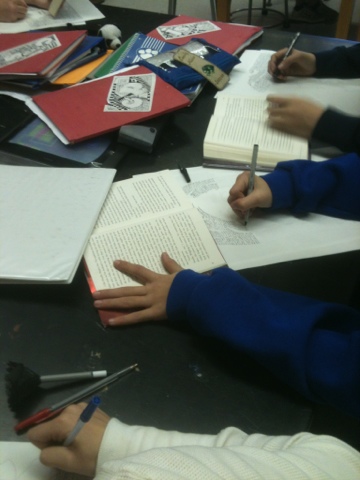
  Students then use classroom resources to draw realistic pictures of animals: books and packets on how to draw animals. We talked about blending colors, and using them to shade light to dark.  Student then paint the animals in with expressive colors.  The company then prints their artwork on different objects for profit.
\


After we finished this project, I sent them to the company, which does all the organization, (probably realizing their clientele and contacts are right-brained art teachers) they send directions, mailing labels, all the works.  They scan the students work and print out personalized order forms, so parents can see what their child's work will look on lots of different products.

I think that the students really enjoy seeing their artwork on such a professionally printed form, even if they do not order, its a great experience for all.


Monday, October 7, 2013

Tessellation Portraits.


This idea comes from Mrs. Kamp at Calver Schools in Baltimore.  It takes two projects I have done in the past and blends them together to get one unified, active, interesting artwork: Tessellations and posterized portraits.  The images are from her class, (we are going to start ours on Tuesday with  tessellations!
From Mrs. Kamps website

From Mrs. Kamp
So this project starts with tessellations.  I will teach them about simple translations.
(these directions are from Julianna Kunstler. )


here are few patterns that you can follow to construct a tessellation.
The basic one is "translation" pattern - where you attach the cut out pieces to an opposite side of your shape:
This is an example of a more complex tessellation pattern - "rotation" template.  Instead of sliding a cutout to an opposite side - you rotate it.

bird tessellation
Tessellations
Now typically, when I do a tessellation project, we spend a lot of time turning these shapes into something we recognize.  For this project, we are using this to create an interesting colorful background.  While students are starting their tessellations, I will photograph each student and print out a posterized version of their face.  Students then trace the lines separating values, (probably only two, light and dark) this line drawing is transferred to the tessellation page, and painted in with tempra.


Thursday, November 8, 2012

Micrography project

Sometimes called calligrams or concrete poetry, students use text to create an image. In this project, we are using an author and their work!

Students pick an author and a text.  One of the reasons we are doing this project is that a lot of students are already reading books in other classes, and this activity reinforces what they are reading and makes them investigate at least a little deeper the author of their books.

We start by going to the computer lab and searching for an image of their author.  Once they find an acceptable image, they save it and email the picture to me.  I take the picture and manipulate it with photoshop or microsoft word.  Its printed with 2 values: Black and white.  High contrast.  The black areas will be filled with text, the white areas left blank

Back in the classroom, students trace the edges of the black shapes on drawing paper LIGHTLY.

Then they open up their book and start writhing with pens.  The smaller the text, the darker the area.

This is a magical project where the image of an author is created using the words that they wrote.  Art inspired by art, crossing from language to visual and back again.

Friday, January 6, 2012

Monochromatic Value Portraits

We have been working on a "Posterized" photograph of ourselves.  First, we get photos taken in front of a blank screen on the smartboard.  The white background and bright light from the projector are a great quick photo studio.  I print them up and students go over the edges of the value shapes with pen.  We then take them to a window, and transfer the lines to a new sheet of paper.  (I also photocopied their drawings 4 times to extend the project into a pop art piece (more on that later))  Then we paint in the image using the original as a guide.  Working from black (pure color) to light and white.  Pick a contrasting color for the background.


Here is another art teacher who has produced a project just like this one....

Sells Art: 8th grade value drawings and song paintings!: